Uploading large files to Oracle Object Storage using a Command Line Interface (CLI)
Tutorial that lists and explain the steps required to upload large files to the Oracle Object Storage using the CLI on Linux or MacOS
Blogposts, Tutorials, Code Samples & Videos. All you need to get started.
 Drupal 8 on Kubernetes
In this blog post, I am going to leverage on the experience I have gained in my previous role — where I was managing the infrastructure and application layer for a large Drupal platform in a multi-site architecture, and my current role as Cloud Solution Engineer at Oracle.
Drupal is an open-source Content Management System (CMS) that is supported by a very large community, contributing (often for free) to improve the product and enrich it with very useful functionalities.
The idea is to use Oracle Container Engine (OKE) and Helm to install a Drupal 8 Chart from Bitnami on a Kubernetes cluster running in Oracle Cloud. This allows developers to have a Cloud native Drupal development environment in seconds for testing new modules, themes, or just testing bug fixes.
As we are deploying a Drupal 8 website on a Kubernetes cluster, the most
important prerequisite is…to have a Kubernetes cluster! Make sure to follow the
previous tutorial I wrote to create a new
cluster,
install and configure kubectl. In addition, we need to install helm.
 Kubernetes cluster created in Oracle Container Engine (OKE)
Helm is like a “packet manager” for Kubernetes. It allows to define, install, and configure even the most complex applications as Charts. Charts can be easily deployed on a Kubernetes cluster, where Tiller (the Helm server-side component) is running, with a few simple commands.
There are several ways to install Helm on your machine and it depends mainly on which is your OS. I have used the following command on my Windows 10 machine using Git Bash:
curl https://raw.githubusercontent.com/helm/helm/master/scripts/get | bash
After a successful installation, we can simply initialize it using helm init
--upgrade. The --upgrade flag will make sure to initialize Tiller running in
the Kubernetes cluster too.
You will receive a confirmation message similar to the below:
$HELM_HOME has been configured at /home/oracle/.helm.

Tiller (the Helm server-side component) has been upgraded to the current version.
Happy Helming!
We can also verify Tiller is running in its own Pod by typing kubectl get pods
--namespace kube-system:
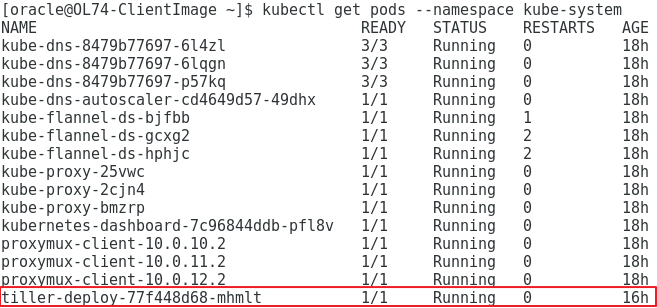 Tiller is running in our Kubernetes cluster
Now that we have Helm (and Tiller) installed and configured in our local machine and Kubernetes cluster, we can actually deploy the Drupal Helm Chart from Bitnami — the Chart source code can be accessed here.
Deploying a new Drupal 8 website is as easy as running the following two commands:
# Update helm charts repositories (optional, but recommended)
helm repo update

# Deploy the Drupal stable chart as "d8cluster"
helm install stable/drupal --name d8cluster
Helm will process the Chart and its dependencies, e.g. MariaDB as Drupal backend database, and create all the components in our Kubernetes cluster as required.
Using the default values.yaml configuration file, the following main
components will be created in our cluster — as you can see from the image below:
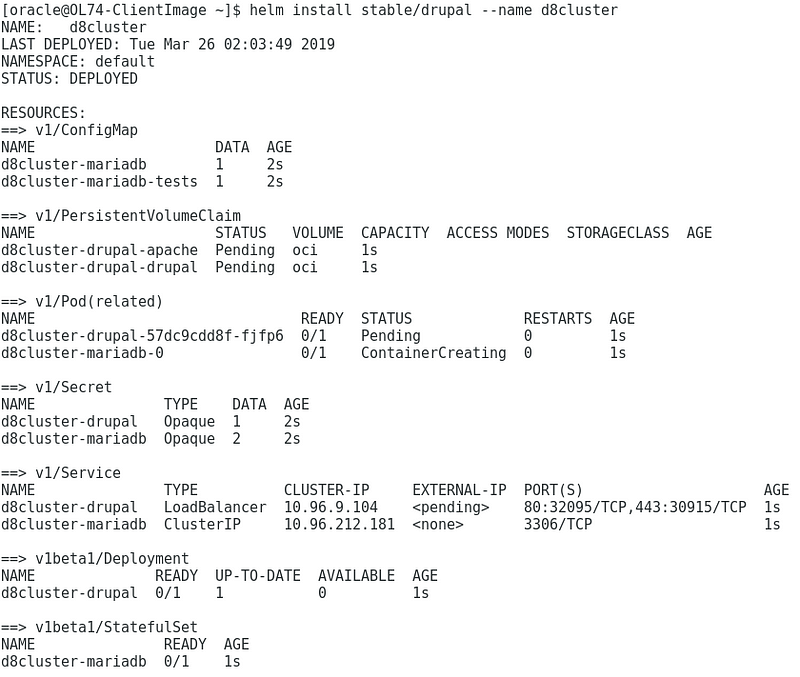 Helm will output a short description for all the components created in the
cluster
Helm will output a short description for all the components created in the
cluster
d8cluster-drupal
is a LoadBalancer type, which will result in a native Load Balancer created in
the Oracle Cloud Infrastructure, exposing ports 80 and 443 with a Public IP that
can be accessed from the public Internet. This will be the entry point for our
website and will dispatch the traffic to the Drupal pod in a private subnet
accordingly. The other Service, d8cluster-mariadb, is a ClusterIP type. In
this case, it has a “private” Cluster IP that can be accessed by the cluster
pods only and it’s not publicly exposed. It is important to mention that OKE
will also create and manage the necessary Security rules to allow traffic
between the Load Balancer and the Pods. This can be also verified by
inspecting the Security Lists on Oracle Cloud Infrastructure Web consoleAfter a few minutes, the new Drupal 8 website will be ready to be accessed using the Load Balancer Public IP.
As mentioned in the previous paragraph, we need to retrieve the Load Balancer Public IP. We can do it in several ways but the easiest way is to run the following command:
# Retrieve the Load Balancer Public IP
kubectl get svc --namespace default d8cluster-drupal
The output will be something like:
 Take note of the Load Balancer Public IP
The external IP can be entered in a browser to access the website:
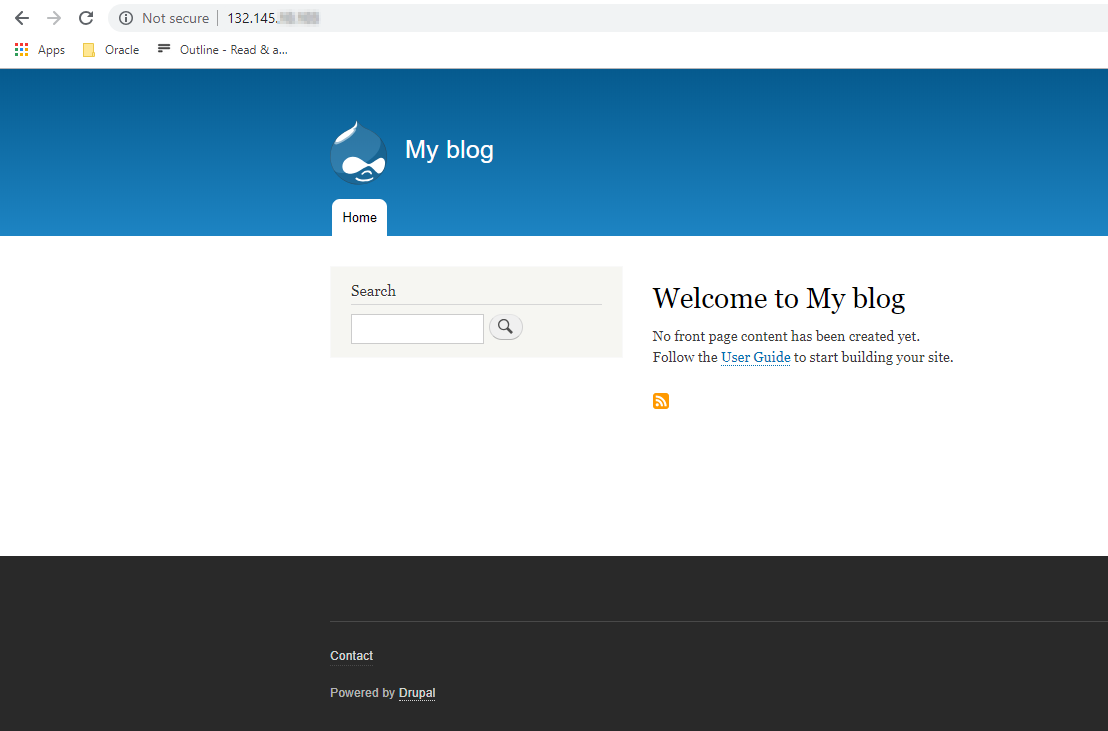 Here is our brand new Drupal 8 site running on Kubernetes
The website Admin credentials have been created automatically during the Chart deployment.
We can use the following command to retrieve the password and base64-decode it:
kubectl get secret --namespace default d8cluster-drupal -o jsonpath="{.data.drupal-password}" | base64 --decode
Now we can head to the usual Drupal login page, e.g. “/user/login” and log in using “user” as username and the password just retrieved:
 Login as Admin using the generated credentials
After being able to access the Drupal website from the browser, you might be interested to access the source code and edit it for development purposes. If your Kubernetes nodes are in a private subnet, you need to create a *bastion host *in a public subnet and use it to SSH into the cluster node as described in this whitepaper.
Within the cluster node, it is possible to mount the Block Storage Volume that has been attached by OKE during the Chart deployment, e.g.:
# Replace sdX with the actual device listed using fdisk -l
sudo mount /dev/sdX /bitnami/drupal
If we cd /bitnami/drupal, we will recognize the usual Drupal site folder
structure and can use our favorite IDE to start coding:
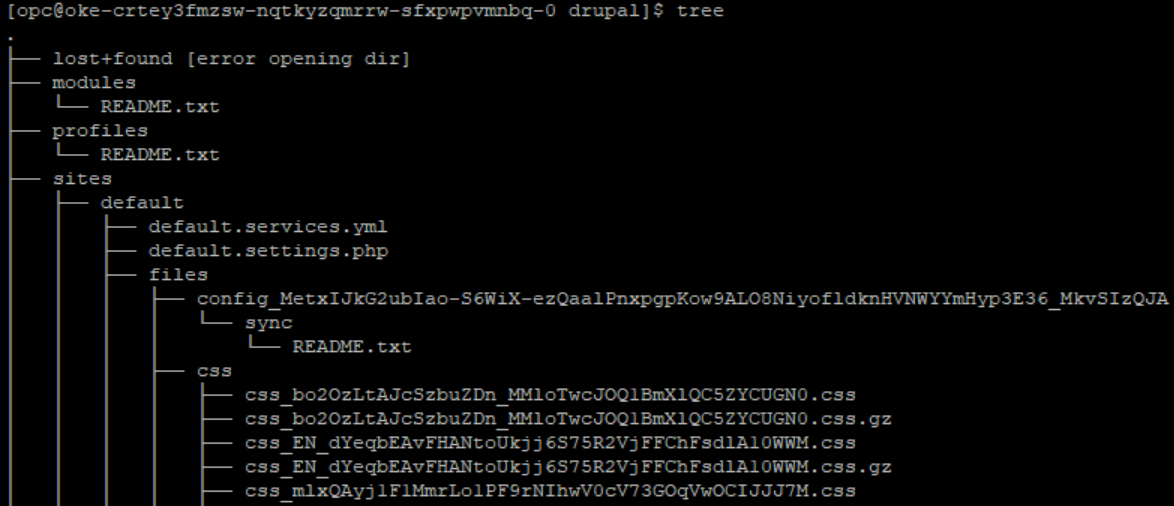 A usual Drupal site folder structure
Now that we have a new Drupal site up and running, my goal is to secure it using a Web Application Firewall (WAF). In the next blog post, I will demonstrate how to use the recently introduced Oracle Cloud WAF to protect our Drupal website.
OKE is only one of the great services offered by Oracle Cloud. There are many others that can be explored to enhance your cloud-native applications.
You can try the steps I described in this tutorial by registering a free trial account here, and take the opportunity to discover many other services offered by OCI.
Luca Iannario @liannario
Developer Advocate at Oracle. When I am not on the clouds, I like travelling and taking pictures.