Getting started with Drupal 8 on Kubernetes
This is tutorial to deploy a new Drupal Website on a Kubernetes cluster hosted on Oracle Container Engine (OKE)

Blogposts, Tutorials, Code Samples & Videos. All you need to get started.
How many of you had the need to create a quick blog for a school project, a hackathon, or a work project but had no time to learn how to use a new complex Content Management System (CMS) like Drupal or Wordpress from scratch?
As the new Developer Advocacy team @ Oracle was created, we wanted to make sure we have a reliable way to publish our own stories, tutorials, code samples, and reference architectures.
Publishing content on Medium or similar platforms is great, but we would also like to start using our own “branding” — therefore we were looking for something like a customizable CMS but easier to use and quicker to deploy.
We have found an easy solution to achieve our goal: Jekyll + GitHub Pages.
Jekyll is a simple, extendable, static site generator. It allows you to write content with your favorite markup language, e.g. Markdown, and generate a navigable website in seconds.
Through themes and templates (or layouts), it is possible to customize the “look&feel” of your site, as well as the navigation and additional features like social media sharing. It also allows you to have a (client-side JavaScript based) Search functionality which is something great you would not expect from a static HTML website.
Installing Jekyll on your machine it’s very easy and you can find the quick start documentation here.
Windows users are required to install some additional dependencies for Jekyll to work properly. In order to do so, make sure to add the following lines to the Gemfile:
gem 'tzinfo' if Gem.win_platform?
gem 'tzinfo-data' if Gem.win_platform?
gem 'wdm', '>= 0.1.0 if Gem.win_platform?
This will allow installing additional Ruby gems that are needed on Windows only.
After adding these lines, make sure to run bundle update. Additional
information can be found
here.
GitHub Pages is a static site hosting service designed to host your personal, organization, or project pages directly from a GitHub repository. It is possible to host a Jekyll generated website for free just using a regular GitHub repository.
After creating a new GitHub repository, it is possible to enable the GitHub Page
functionality through its settings and your website will be immediately
available at *https://
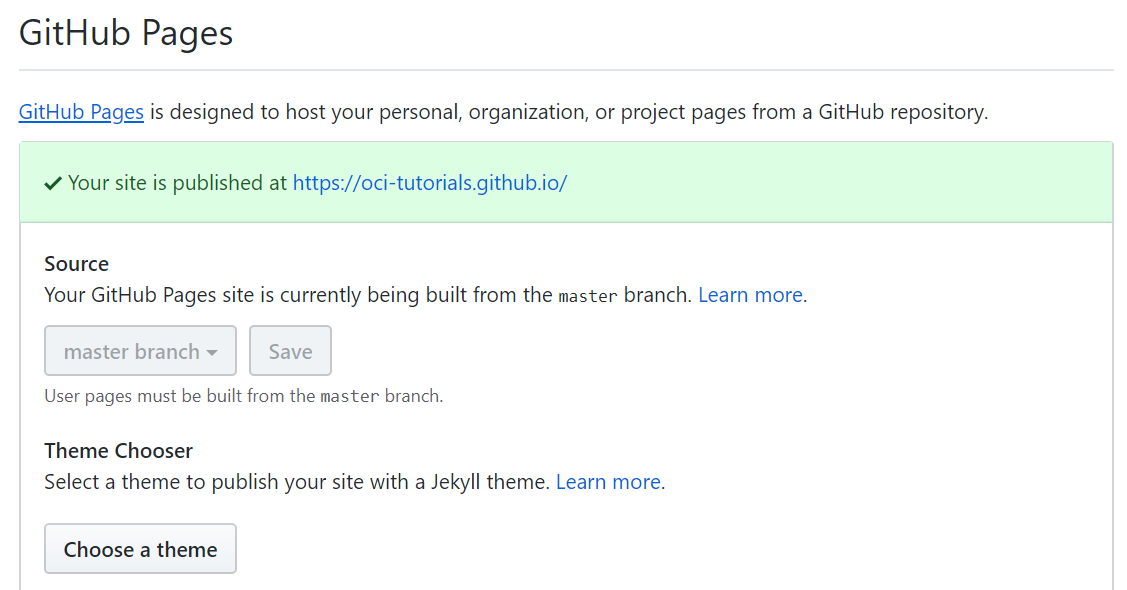
In our case, the website is available at https://oci-tutorials.github.io, while the source content is stored at the corresponding repository https://github.com/oci-tutorials/oci-tutorials.github.io.
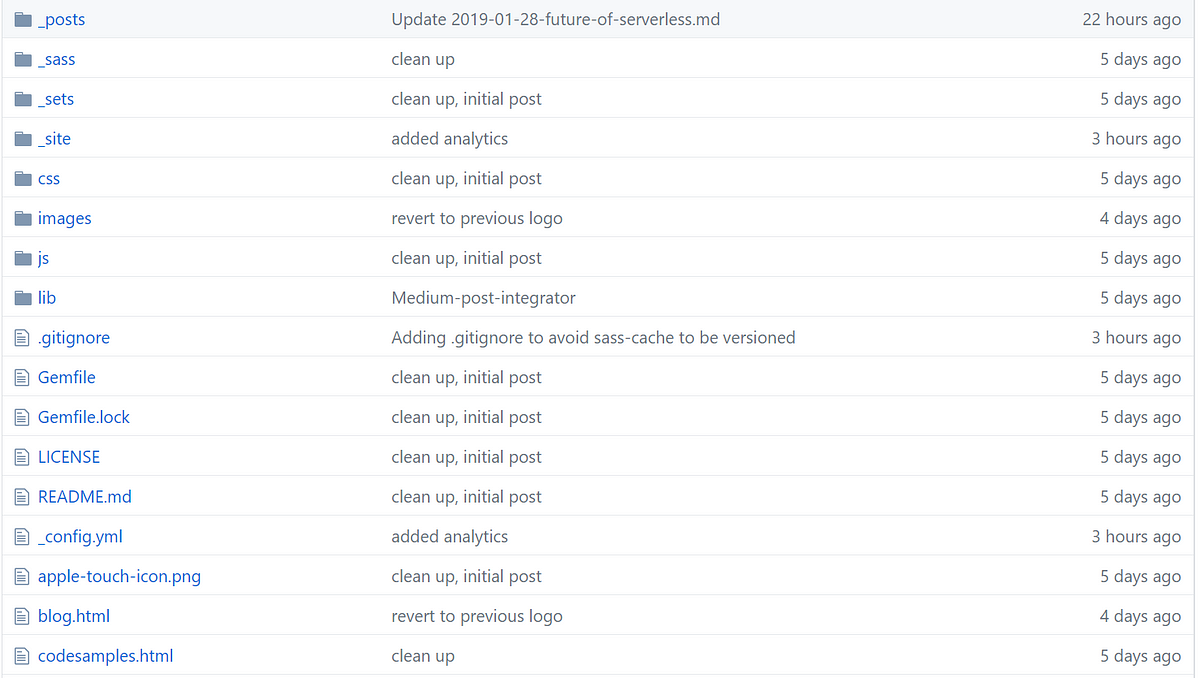
If you browse to the GitHub repository, you can see it contains a bunch of
static HTML files, CSS, and YAML files. HTML is generated by Jekyll starting
from the Markdown files added to the _posts folder.
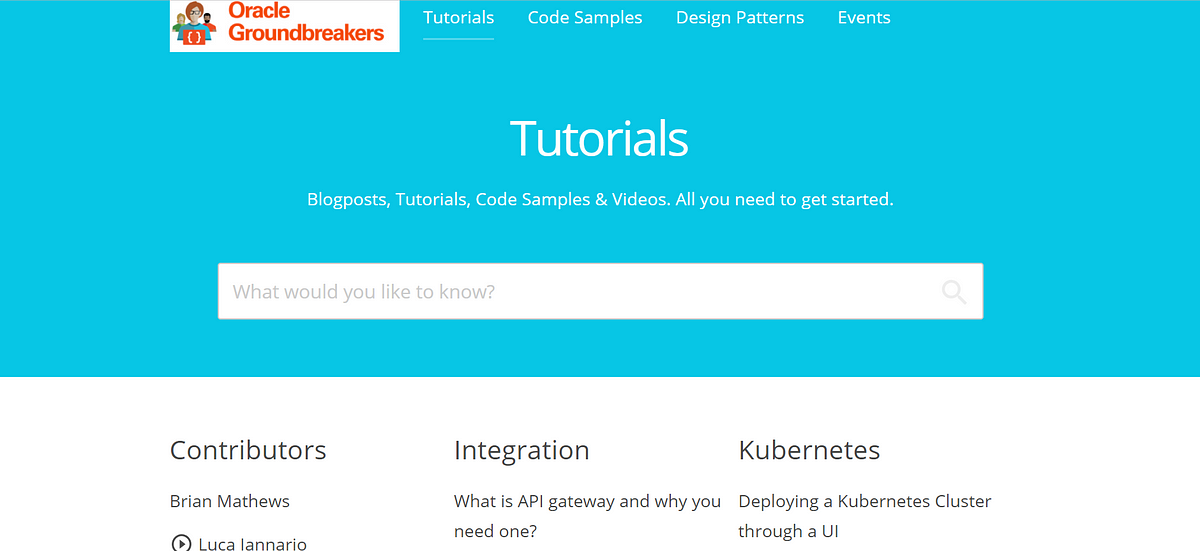
As you can see below, this is the site generated from our GitHub repository containing Markdown content. Within a few hours, we were able to have a new site up and running, which will enable us to reach out as many developers as we can.
If you have any suggestion or feedback (or you have found any bugs), feel free to reach out and let us know.
Luca Iannario @liannario
Developer Advocate at Oracle. When I am not on the clouds, I like travelling and taking pictures.