Getting started with Drupal 8 on Kubernetes
This is tutorial to deploy a new Drupal Website on a Kubernetes cluster hosted on Oracle Container Engine (OKE)

Blogposts, Tutorials, Code Samples & Videos. All you need to get started.
 Object Storage common Use Cases
In this blog post, I am going to list and explain the steps that are required to upload large files to the Oracle Object Storage using the Command Line Interface (CLI) on Linux or MacOS.
Oracle Cloud Infrastructure offers an Object Storage Service that allows storing files as objects in a highly secure, scalable, and durable way.
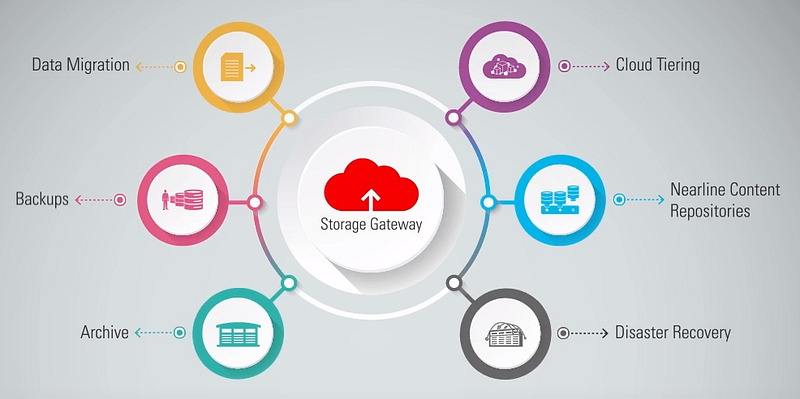
Object Storage can support several use cases, including log analysis, the creation of data lakes, data migration, backup, and disaster recovery.
Oracle Cloud provides a Web Console to upload files to Object Storage, however, it is possible to do so only with files up to 2 GB. For larger files, users can perform multipart uploads using the API, the Java SDK, or the Command Line Interface (CLI).
The maximum size for an uploaded object is 10 TiB. Object parts must be no larger than 50 GiB.
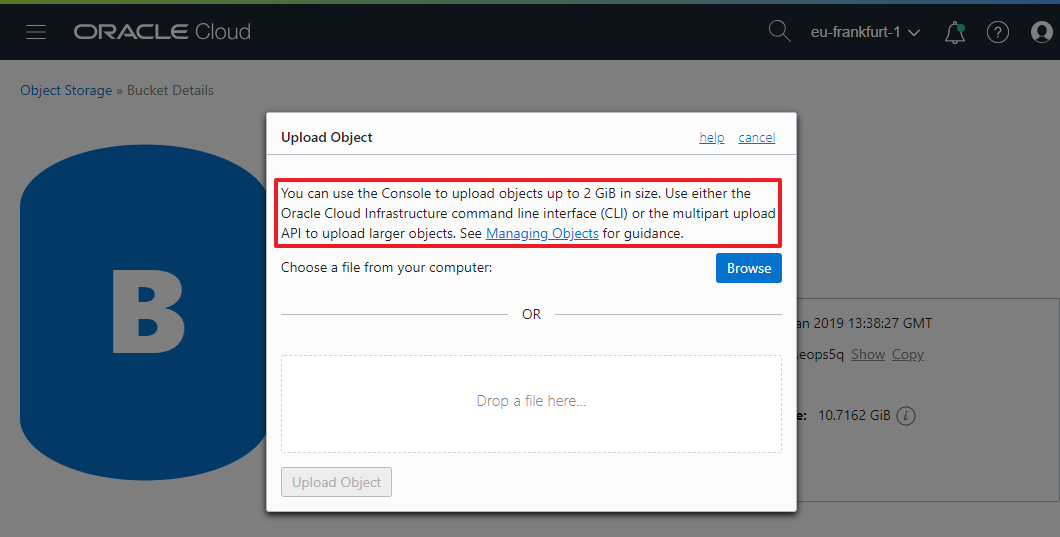 Files up to 2 GiB can be uploaded using the Web Console
The first step to upload large objects to Object Storage using the CLI is to install and configure the CLI itself.
The CLI is built on Python (version 2.7.5 or 3.5 or later), so we need to make sure either of these Python versions is installed on the machine we are uploading the files from.
After opening a terminal, we can run the following command to run the installer and respond to some prompts (defaults are ok):
bash -c "$(curl -L [https://raw.githubusercontent.com/oracle/oci-cli/master/scripts/install/install.sh](https://raw.githubusercontent.com/oracle/oci-cli/master/scripts/install/install.sh))"
Upon successful completion of the installation, we need to run a one-time configuration process that will store a config file under the ~/.oci directory. CLI requests are authenticated using API keys, so if you need to generate a key pair it is possible to do so by running oci setup keys first and providing a path to store the generated private and public keys (in this case, do not forget also to upload the generated public key to the User console for the authentication mechanism to work properly).
To start the configuration process we need to run the oci setup config command and follow the prompts. Three parameters will be required:
Tenancy OCID, which can be found in the OCI console under Administration > Tenancy Details
User OCID, which can be found in the OCI console under Identity > Users > User > User A
Region Name, e.g. eu-frankfurt-1, if you are using the Frankfurt datacenter
The generated config file will be similar to the one shown in the screenshot below (I have pixelated some parts for security purposes):
 The CLI generated configuration file
If you don’t have a large file to upload for testing purposes, you can leverage on the following Unix command that generates a ~10 GB random text file:
# Generate a ~10 GB random file
dd if=/dev/urandom of=random_file.txt bs=1048576 count=10000
The random text file generated in the previous step can be now uploaded using the oci os object put command:
oci os object put \
-ns <object_storage_namespace> \
-bn <bucket_name> \
--file <file_location> \
--name <object_name> \
--part-size <upload_part_size_in_MB> \
--parallel-upload-count <maximum_number_parallel_uploads>
Let’s quickly review the parameters used by this command:
ns (optional) corresponds to the OCI Tenancy Name — if not provided, it will be retrieved using oci os ns get
bn is the Bucket name where we are uploading the file to — needs to be created first if not existing
file is the path to the local file to be uploaded, e.g. /path/to/random_file.txt
name (optional) to specify a different name for the uploaded object
part-size (optional) is the part size (in MiB) to use when uploading via multipart upload operations
parallel-upload-count (optional) represents the maximum number of parts that can be uploaded in parallel (defaults to 3)
 An example of CLI upload
Other parameters can be specified as well. The full CLI Command Reference for Object Storage Object PUT can be found here.
After the upload operation is completed, you can see the uploaded file in the bucket:
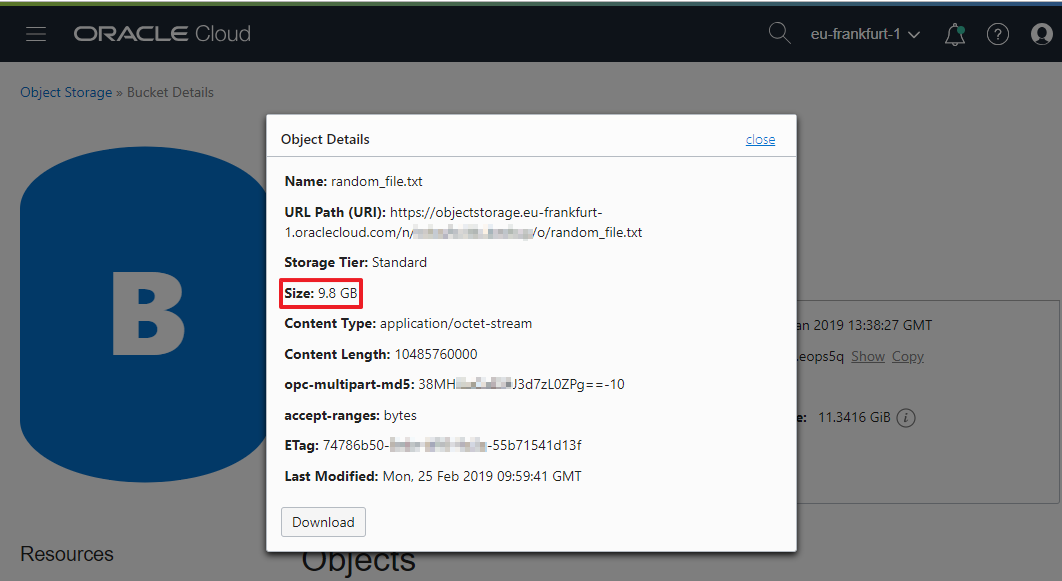 Files can be viewed and downloaded from the Web Console
Object Storage is only one of the great services offered by Oracle Cloud. There are many others that can be explored to enhance your Cloud applications.
You can try the steps I described in this tutorial by registering for a free trial account here, and take the opportunity to discover many other services offered by OCI.
Luca Iannario @liannario
Developer Advocate at Oracle. When I am not on the clouds, I like travelling and taking pictures.